A Picture’s Worth a Thousand Words…Back to School “Homey” Theme
These days everyone has a theme! When I first started teaching 17 years ago the theme for everyone was apples. Since then things have changed dramatically. You no longer go to a teacher store to decorate your room, you go to EVERY store to decorate your room. If you are like me, your significant other does not want to take you to Target, Hobby Lobby, Michaels, Walmart, Lowe’s or Home Depot. There is always inspiration for any classroom from these stores. In the past I would change my theme from year to year and it became expensive and time consuming. Three years ago I decided to stick with a theme and invest money in that theme. I chose to do a jungle room because there was many animal print items out there and I thought it would be fun for first grade.
This year a new classroom became available after two of my teammates retired. I was super excited to get this new room because it is HUGE and I was growing out of my old room. I didn’t want to ditch all of my animal print items but I also LOVE polka dots and chevron. So I decided on a color scheme with mix and matching patterns.
Let’s face it, you spend most of your time in your classroom during the school year so I decided to choose my favorite colors…yellow, orange and green. Since we all have themes, and mine is a mix and match I decided that this year I would focus on making my room “homey”. I wasn’t sure if that was an actual word so I googled it! Guess what, it is a word! It means pleasantly comfortable and cozy. A perfect environment for students to learn in! So this summer I will reveal to you how I have made my room “homey”!
One idea I had was to display pictures around the room. This is not a new idea as I have heard of other teachers doing this. I didn’t want to buy 25 pictures frames so I had to think of something else. Of course my favorite thing to paint on came to me immediately, wood. It’s cheap and looks rustic! (My husband is now an expert at cutting wood for arts and crafts at home and for winter holiday gifts.)
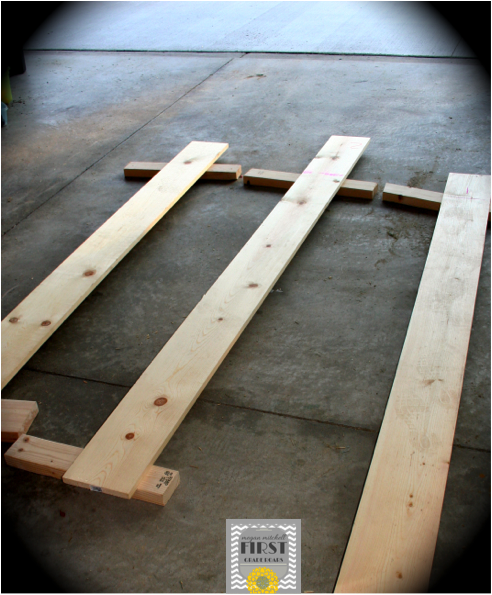
So we headed to Lowe’s and got some wood. We bought 1X8 pieces of wood. I needed 3 and they were about $6.00 each. I knew I wanted to paint them but then I had another idea. I thought if I used chalkboard paint, the kids could label their pictures. So chalkboard paint it was.
Step 1: Paint the boards!
I set up shop in the garage. This went pretty quickly but I did apply 3 coats to each side.
Step 2: Cut! This is where my very patient husband came in to help. When buying 1×8’s a table saw will not go through the entire piece of wood so for each piece he had to do 2 cuts. Yikes!
Step 3: Paint the cut ends.
I put a paint drop cloth down on my table and 2×4 pieces of wood to set them on. This went rather quickly but I had to do 2 different sets, my table wasn’t big enough.
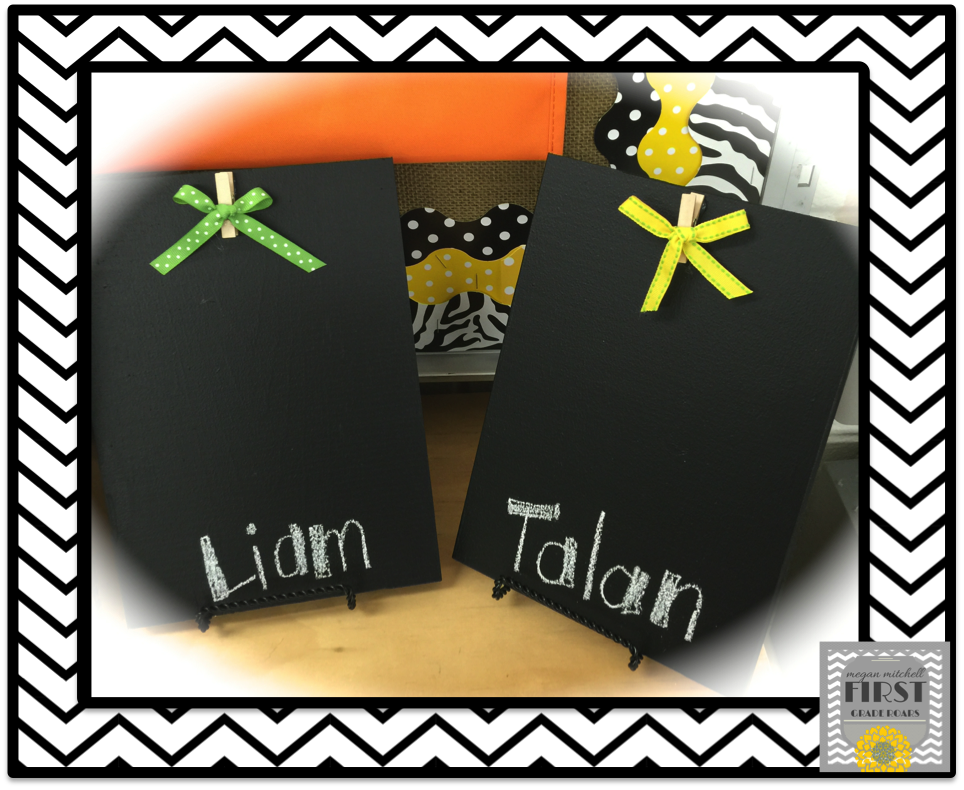
Step 4: Attach a clothes pin and ribbon.
I bought my clips and ribbon at Hobby Lobby. They were 50% off so not too expensive.
I used hot glue to attach the ribbon and to attach the clip to the wood.
HOT GLUE IS A LIFESAVER FOR EVERYTHING IN MY ROOM!
All my finished frames, ready for school!
Step 5: Find Stands.
Find something to display then on. The wood won’t stand on it’s own. I also bought stands at Hobby Lobby. This was an investment but I know they will last forever.
Here is a picture of two sitting on a stand.
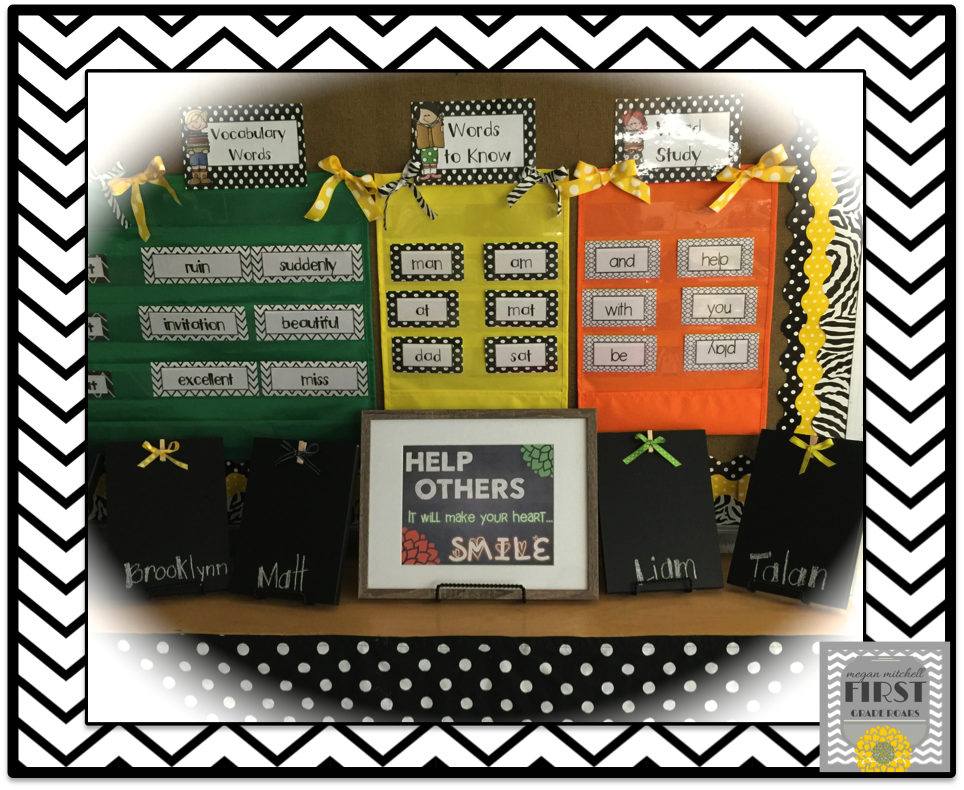
Step 6: Label and Display
As you can see I put the children’s names on mine already. On the first day of school I’m going to take their picture and then put it on their frame. Once we take another photo, I will have them write their name in chalk! I’m sure it will be WAY cuter with their handwriting. Whenever we do fun days or go on trips, I will print their photos and then the children can replace them!
Displayed while writing their names on each one.
Here is a picture of them set up in one part of my room. They are literally all over my room at different places. I plan to let them move them throughout the year to a new place every once in awhile. It will be like moving seats…always fun!
One other tip!!
The chalkboard pens DO NOT work on chalkboard paint. I used real chalk.
Hope you enjoyed my “Homey” themed idea! Look for more to come soon!
I’m Megan, a first grade teacher and a mother to 7 amazing children. I love to create and collaborate with teachers. When I’m not teaching, I love spending time with my family, baking and playing tennis.


3 Comments
So cute! Have a great school year!
Those look so cute!
Cute!