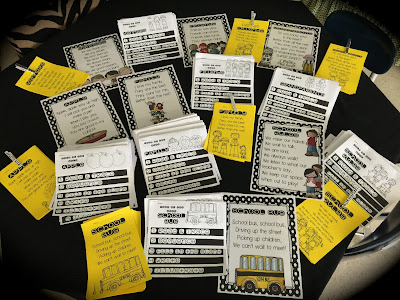
I could not be more proud or excited about my poetry flip books. Last year I felt the one area I was weak in, was the poetry standard. I wanted a fun way to use poetry in my room and to do it independently or student led. I looked through several products and just couldn’t find exactly what I wanted so of course, I had to create my own.
The first thing I had to do was write a few poems. This took some time but I think they turned out cute! Next was mastering the flip book. This took A LOT of time! I wanted it to be double-sided, only using three pages for easy assembly. Once that was figured out, the creating began…my favorite part. I am so thrilled about the end result!
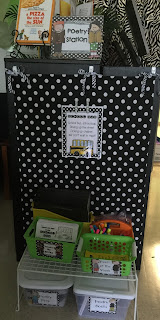
I didn’t have a Poetry Station so I had to find one. I always look for areas in my classroom that bother me. There was a spot where two book cases backed up to each other so I decided to use that area. I knew that the shelves would be removed every year for cleaning so I set up a bulletin board that could be taken down.
First I measured fabric and cut it to length.
Then I folded the sides and ironed. I don’t sew!!!
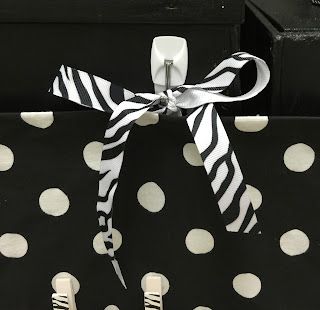
Next I hot glued ribbon in three spots on the top so I could tie it to the bookcases! I use hot glue for EVERYTHING!!!!
After that I hot glued to clothespins to the fabric so I could clip up the poem of the week!
Finally I attached 3 command hooks to the bookcases and tied my portable bulletin board to the hooks!
Next I had to plan out the set up for my students. The teacher prior to me left this wire white shelf. (I recently spotted them at Meijers if you were looking for one in the bath aisle!)
I bought my students composition books to glue their poem in each week. That will be their first task.
I also bought black folders for them to store their flip books while they work on them for the week! I used a metallic sharpie to write on the black folders.
In my crate I put crayon bags, glue, and highlighters which they will need to complete the books. I will also add pencils.
I prepped August and September and I am storing that in a tub below as well!
I plan to do this station as a whole class for several weeks. Once they get the hang of it, it will be an independent/group activity.
If you are interested in this product check it out below. I will update photos as we go!
One last note…. When printing make sure you select fit to printer. It will make the file perfect for your students.











5 Comments
I can't seem to get these to work. I will keep trying.
Let me know if you are still having difficulties! I would be happy to help!
Meagan can you clarify what you put in your composition books? just a copy of the poem or is it the flip book? Also the overview picture is hard to see what you do each day. I see sequencing, writing it, glueing (not sure what) but what are the other two things? I love this idea for a center.
Pauline @ First Grade by the Sea
Pauline,
We use this as a center so the first thing my students do is glue the poem in their composition book! I gave them tasks to do on the poem. They have to highlight rhyming words and circle all punctuation. Then they work on their flip book. The flip book gets turned on when they are done. On the flip book they trace the poem, fill in missing words, write it, illustrate it and sequence it! They usually finish the entire poem in my 20 minute center time. Hope this helps!
Thank you. This sounds perfect to get my Firsties started with centers.
Pauline @ First Grade by the Sea